Healthcare lighting is not one fixture schedule repeated across a hospital. A patient room, examination room, nurse station, imaging suite, corridor, and waiting area have different users, visual tasks, operating hours, cleaning routines, and safety constraints. Start with the current ANSI/IES RP-29 healthcare lighting recommended practice and the applicable Facility Guidelines Institute (FGI) resources, local code, and authority having jurisdiction (AHJ). Then turn the clinical program into a room-by-room lighting and controls brief before choosing luminaires.
That sequencing matters. IES describes RP-29 as a healthcare-specific recommended practice that complements FGI documents; it is a design reference, not a substitute for project code review. The deliverable should therefore be a coordinated record of the selected fixture, photometric calculation, controls scene, emergency-power interface, and cleaning or infection-control requirements for each space.
Classify the room and the task first
Create a matrix that identifies each room type, its users, the critical visual task, operating modes, and the party responsible for approving it. Include representative patient rooms, exam and treatment rooms, medication or work areas, nurse stations, corridors, waiting areas, and any special clinical or imaging spaces in the design scope. Do not assume that a general office lighting layout transfers to clinical care.
For each room, ask four practical questions:
- Where must staff see accurately, and on what plane or surface?
- Where might a patient be lying down, resting, or sensitive to glare?
- Which visual tasks occur at night, and which lighting scene supports them without unnecessarily lighting the entire room?
- What must remain functional for safety, egress, or continuity of care when normal power is unavailable?
Use the answers to request a photometric calculation for the actual room geometry, ceiling, bed or equipment layout, surface finishes, and mounting condition. Review horizontal and vertical light where the task requires it; a single workplane average cannot reveal shadowing at an exam position, face visibility at a care station, or whether a bright ceiling image will be uncomfortable for a reclined patient.
Layer light around patients and caregivers
In a patient room, avoid treating the bed as a generic open-office desk. The lighting needs of the patient, caregiver, and visitor can occur simultaneously and may conflict. A patient may need a low, comfortable rest setting while staff need a focused exam scene and a visitor needs light to read. Give those functions separate layers and controls rather than solving every condition with one high-output ambient fixture.
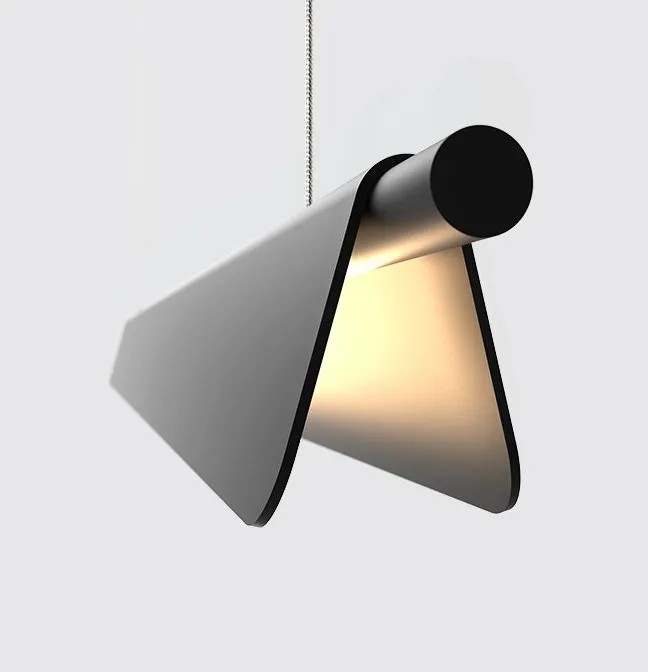
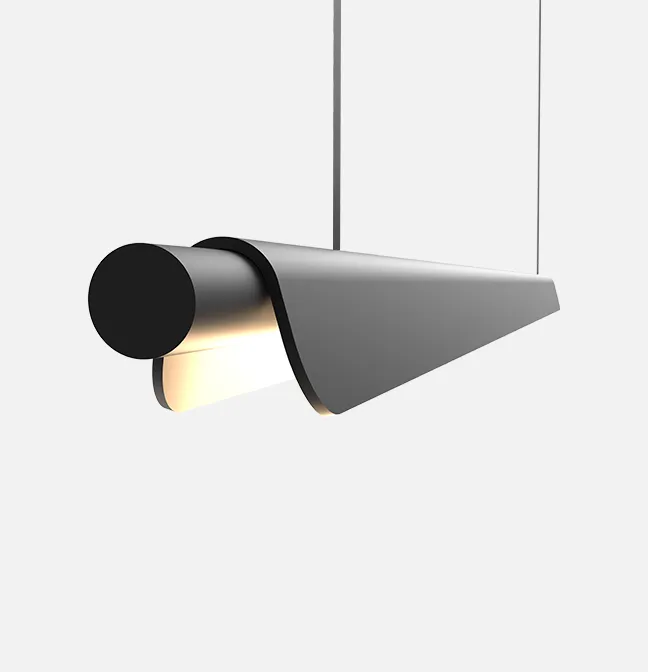
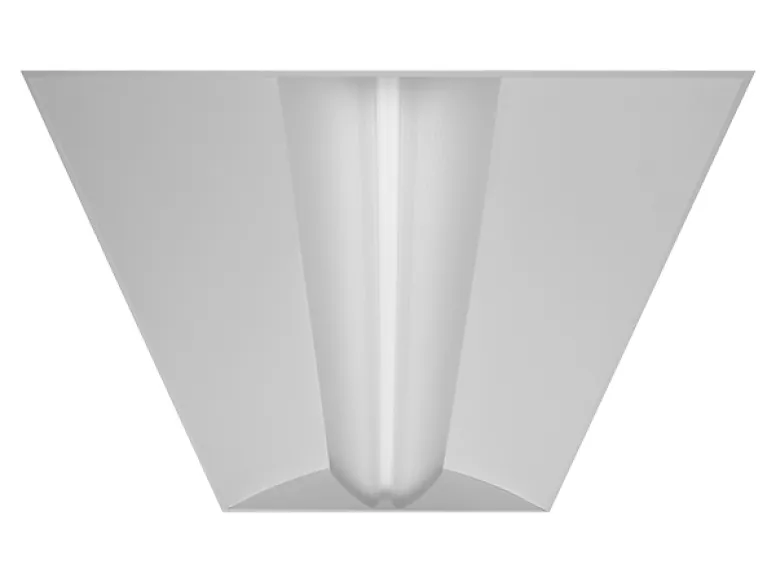
Troffers and LED panel lights can form a uniform ambient layer in grid ceilings when their distribution and placement work with the room. Linear lights can make continuous ambient or perimeter layers legible in a ceiling plan. Downlights, wall sconces, or dedicated patient-room luminaires may serve focused bedside, reading, or wall-lighting roles when their photometrics suit the task. The product category is not the specification: require the selected distribution, output, shielding, mounting, and lens to be documented.
Evaluate the arrangement from real viewing positions. A luminaire that is acceptable on a reflected-ceiling plan may create a direct view of a bright aperture for a person in bed. Conversely, an aggressively shielded ambient layout can leave care staff with inadequate facial modeling or task visibility. Mock up a representative room when the project changes optics, CCT, control interfaces, or room layouts at scale. Include caregivers, facilities staff, and—where appropriate—clinical leadership in that review.
Specify color and dimming as selected conditions
Avoid a vague requirement such as “selectable white, high CRI, dimmable.” It leaves the final installed state unknown. Instead, record the selected CCT, color-rendering target, lumen package, lens or optic, driver, dimming protocol, and each field-adjustable setting used for the calculation. If the project uses a tunable product, define the intended programmed range and scenes rather than assuming every available setting will be used.
The same discipline applies to dimming. State the required operating scenes and the expected low-end behavior for the complete system—not only the luminaire driver. Test the selected luminaire, control, and interface together in the representative condition. This is particularly important where a low-light night scene, a clinical task scene, and an emergency or override condition must coexist. Do not use a catalog claim about compatibility as a replacement for a project-specific demonstration and commissioning record.
Make controls usable without undermining care
Controls should reflect both clinical workflow and the project’s energy-code path. Separate the patient-facing control from caregiver access where the room program requires it, and label the scenes in language users understand. A scene schedule might distinguish ambient, reading, examination, night observation, cleaning, and override functions; the exact schedule should come from the clinical program, not a generic fixture package.
Coordinate sensor placement and automatic behavior with staff before installation. A control that is efficient on paper can be disruptive if it leaves a patient area dark during a needed observation or requires a caregiver to hunt for a switch during an exam. Test the installed room with beds, curtains, equipment, and typical occupancy patterns in place. Record final dim levels, timeouts, sensor coverage, wall-station labels, and override behavior for facilities staff.
Coordinate fixture construction, cleaning, and life safety
Lighting is one part of the room environment and must be coordinated with the project’s cleaning, maintenance, ceiling, and infection-control requirements. Before selecting a sealed, gasketed, antimicrobial, or cleanable luminaire, document the actual project requirement and confirm the manufacturer’s published construction, listing, cleaning instructions, and installation limitation. Do not infer an IP rating, certification, or clinical suitability from a product’s appearance.
Coordinate emergency and exit lighting early with the electrical and life-safety design. Emergency and exit lighting requirements are code- and jurisdiction-specific; identify the required circuits, transfer or backup strategy, testing responsibility, and the fixture or inverter information that must appear in the closeout package. Keep normal-lighting controls and required emergency operation clearly coordinated so a dimmed scene cannot be mistaken for a life-safety strategy.
Healthcare lighting submittal checklist
- Room-by-room photometric calculations using the exact selected luminaire, output, optic, mounting condition, and room layout.
- A controls narrative and scene schedule that distinguishes patient, caregiver, ambient, task, night, cleaning, and override functions where applicable.
- Selected CCT, color-rendering target, lumen package, driver, dimming protocol, lens, and every field-adjustable setting.
- Manufacturer documentation for the selected fixture’s construction, listings, maintenance, cleaning limitations, and any published compatibility information.
- A representative mock-up or sample-room review plan when optics, controls, or patient-room luminaires are being standardized.
- A commissioning and closeout record: final scenes, sensor behavior, aiming or layout adjustments, emergency-power coordination, and a labelled schedule for facilities staff.
The strongest healthcare lighting specification makes each room’s intended condition visible and testable. It gives clinical users appropriate light when they need it, keeps patient comfort in the design review, and leaves the facilities team with a record of what was actually installed and commissioned.